|gametext=[Special] Cancel foe's attack. No attack strength, but instant. Different attack frees foe.
|gametext=[Special] Cancel foe's attack. No attack strength, <br>but instant. Different attack frees foe.
}}
}}
Line 194:
Line 194:
|level=
|level=
|ap=80
|ap=80
|gametext=[Special] Make opponent unable to move. Foe is freed when hit by another attack.
|gametext=[Special] Make opponent unable to move. <br>Foe is freed when hit by another attack.
}}
}}
Line 213:
Line 213:
|level=
|level=
|ap=80
|ap=80
|gametext=[Long] Darkness eats away at opponent's body, continuously stealing bravery for a set period.
|gametext=[Long] Darkness eats away at opponent's body, <br>continuously stealing bravery for a set period.
}}
}}
Line 220:
Line 220:
= HP Attacks =
= HP Attacks =
The strength of Shantotto's HP attacks escalates the more bravery she has prior to using them. Each damage multiplier reflects their strength according to the three levels that the HP attacks are scaled with.
Shantotto's HP attacks become stronger with higher bravery. The Spirit Magic HP attacks have three tiers. Higher tier spells have bigger {{keyword|hitboxes|hitbox=1}} and deal more bravery damage.
;Example with Spirit Magic Earth
* Tier 1 HP (Stone): 0-1999 BRV
* Tier 2 HP (Stonega): 2000-3999 BRV
* Tier 3 HP (Quake): 4000 BRV, or higher
So if Shantotto has 2000 BRV, Spirit Magic: Earth will result in Stonega.
''[Long] Hurl ice shards forwards. Strength depends on bravery.''
[[File:Hp_shantotto_ice_lv2.jpeg|thumb|Blizzaga]]
[[File:Hp_shantotto_ice_lv3.jpeg|thumb|Freeze]]
</tabber>
</tabber>
Line 328:
Line 509:
The correct order of the spells is: Flare > Flood > Burst > Quake > Tornado > Freeze.
The correct order of the spells is: Flare > Flood > Burst > Quake > Tornado > Freeze.
The spells are always listed in that order vertically (from top to bottom), but the exact position for them is not static; Flare could be in the middle of the menu or at the top. The important thing here is finding Flare as soon as possible and then going down the list. A down input will move the cursor to the top if it's at the bottom of the menu. So regardless of where Flare actually is, the sequence of inputs is always the same once the cursor is on it.
The spells are listed vertically from top to bottom and the correct order is ''always'' available. The challenge here is finding Flare quickly; Its position is always shuffled, so it could be in the middle of the menu or at the top. Once you find Flare, the remaining sequence of inputs is always the same. Spell > down > spell > down etc. A down input will move the cursor to the top if it's at the bottom of the menu, so there's no need to worry about moving it to one side of the menu through quick button presses.
Each spell must be pressed twice with cross ({{pspcro}}), first to highlight it and then to cast it. Players have roughly 5 seconds to complete this sequence; The camera will rotate around Shantotto and her opponent for one full rotation, and then end with a zoom in on Shantotto. '''[[Abilities_(Dissidia_012)#Support_Abilities-0|Auto EX Command Ω]]''' trivialises this process, as one would expect.
Each spell must be pressed twice with cross ({{pspcro}}), first to highlight it and then to cast it. Players have roughly 5 seconds to complete this entire sequence; The camera will rotate around Shantotto and her opponent for one full rotation, and then zoom in on Shantotto at the end. '''[[Abilities_(Dissidia_012)#Support_Abilities-0|Auto EX Command Ω]]''' trivialises this process, as one would expect.
This EX Burst has good damage output, if not above average. It doesn't scale with health like '''[[Cloud_Strife_(Dissidia_012)#EX_Burst:_Omnislash|Cloud]]''' or '''[[Tidus_(Dissidia_012)#EX_Burst:_Blitz_Ace|Tidus]]''', but is far from the weakest burst in the game.
This EX Burst has good damage output, if not above average. It doesn't scale with health like '''[[Cloud_Strife_(Dissidia_012)#EX_Burst:_Omnislash|Cloud]]''' or '''[[Tidus_(Dissidia_012)#EX_Burst:_Blitz_Ace|Tidus]]''', but is far from the weakest burst in the game.
Excellent conversion ability: Shantotto is able to turn almost any hit into HP damage with some execution, and further extend reliably with assists.
High EX Force generation: All of Shantotto's HPs and Retribution build a high amount of EX Force, that further escalates with well executed combos.
Can deny HP attack usage: An opponent being poisoned by Bio means they'll be instantly broken if they hit Shantotto with an HP attack. When not near loss, this can be used to effectively lock the opponent out of using them for a period of time.
Good whiff punish game: Good mobility and startup on Stun to combo into HPs. A couple unconventional tools can make it scary to recklessly whiff attacks against her.
No wall rush HP: A lack of wall rush on any of Shantotto's HP attacks significantly cuts into the potential combo damage and how much she gets out of the high base brave sets she usually runs.
Extreme Glutton vulnerability: Because all of the HP attacks Shantotto uses hit from a medium distance, the opponent will get priority when absorbing EX from her majority of the time, greatly reducing EX intake without build investment.
Assist punish vulnerability: Because Retribution doesn't cover Shantotto's sides well, and every single one of her other attacks is Ranged, in practice almost every single attack Shantotto can use is vulnerable to raw assist.
No fast midair melee attack: This makes her both vulnerable to a large amount of attacks and pressure after a dodge'
Huge recovery: In general the end lag on Shantotto's attacks is above average relative to the rest of the cast, this is especially bad on most of her HP Attacks.
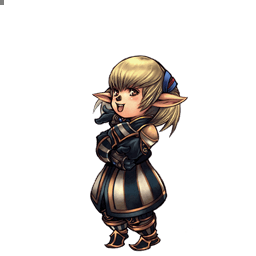
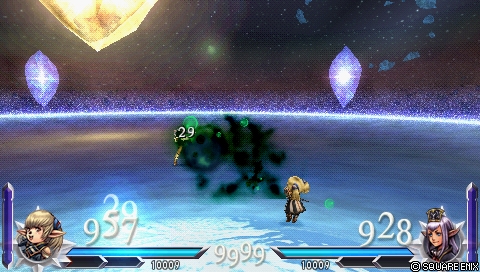
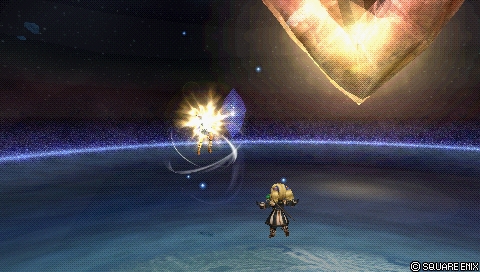
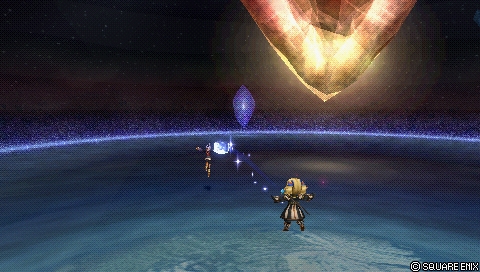
Bravery Attacks
Most of Shantotto's bravery attacks have a ground and an aerial version. A Couple Attacks is only available on the ground and Retribution is only available midair.
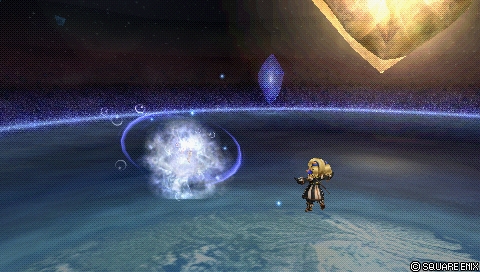
[Long] Darkness eats away at opponent's body, continuously stealing bravery for a set period.
Unlocked at level
Mastered at 80 AP
HP Attacks
Shantotto's HP attacks become stronger with higher bravery. The Spirit Magic HP attacks have three tiers. Higher tier spells have bigger hitboxes and deal more bravery damage.
Example with Spirit Magic Earth
Tier 1 HP (Stone): 0-1999 BRV
Tier 2 HP (Stonega): 2000-3999 BRV
Tier 3 HP (Quake): 4000 BRV, or higher
So if Shantotto has 2000 BRV, Spirit Magic: Earth will result in Stonega.
[Long] Hurl ice shards forwards. Strength depends on bravery.
Unlocked at level 1
Mastered at 160 AP
BlizzagaFreeze
EX Mode: Two-Hour Ability!
Effects:
Regen
Critical Boost
Manafont
Manafont
[Always active while in EX Mode] Bravery is instantly replenished after landing a successful HP attack.
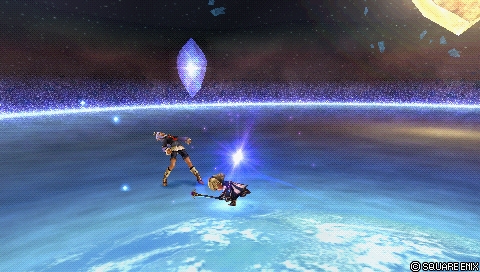
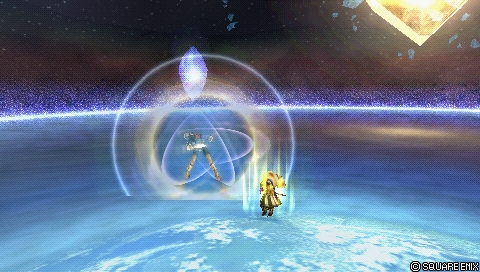
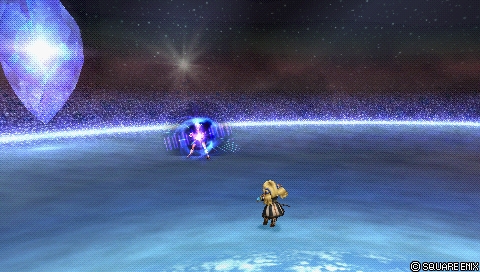
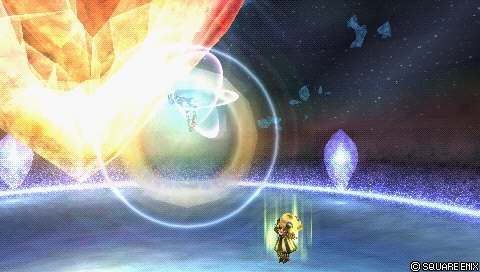
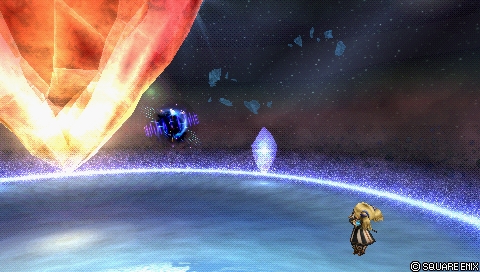
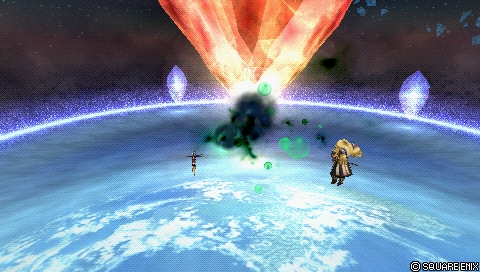
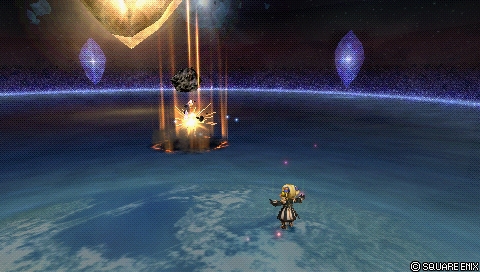
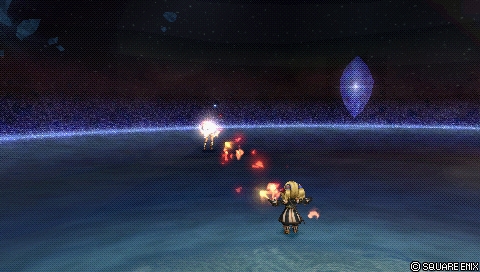
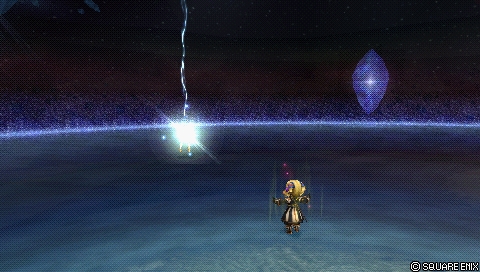
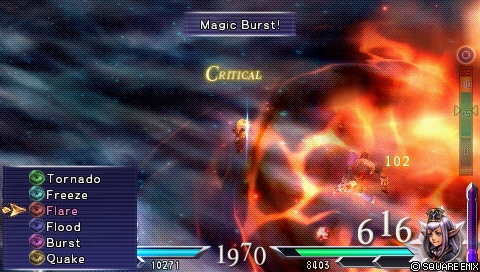
EX Burst: Play Rough
A flurry of attacks leading to a blast of terribly strong magic. Select spells from the menu. Fire-Water-Thunder-Earth-Wind-Ice order deals maximal damage.
Damage multiplier (initial)
Damage multiplier (rest)
Type
4, 3, 3, 10 (20)
10 x 6, 20 (80) (100 total)
Physical (first three hits), Magical (the rest)
Play Rough requires inputting a series of spells via a separate menu that only appears during this EX Burst.
The correct order of the spells is: Flare > Flood > Burst > Quake > Tornado > Freeze.
The spells are listed vertically from top to bottom and the correct order is always available. The challenge here is finding Flare quickly; Its position is always shuffled, so it could be in the middle of the menu or at the top. Once you find Flare, the remaining sequence of inputs is always the same. Spell > down > spell > down etc. A down input will move the cursor to the top if it's at the bottom of the menu, so there's no need to worry about moving it to one side of the menu through quick button presses.
Each spell must be pressed twice with cross (), first to highlight it and then to cast it. Players have roughly 5 seconds to complete this entire sequence; The camera will rotate around Shantotto and her opponent for one full rotation, and then zoom in on Shantotto at the end. Auto EX Command Ω trivialises this process, as one would expect.
This EX Burst has good damage output, if not above average. It doesn't scale with health like Cloud or Tidus, but is far from the weakest burst in the game.


 Dismay Shock
 BRV = 0
 Blue Gem