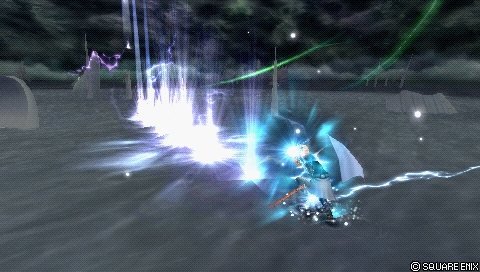
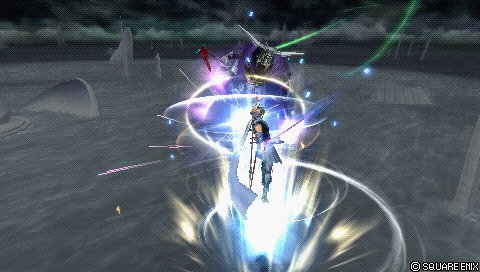
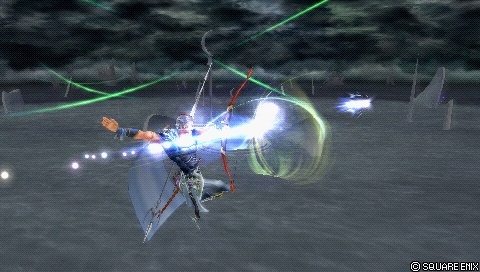
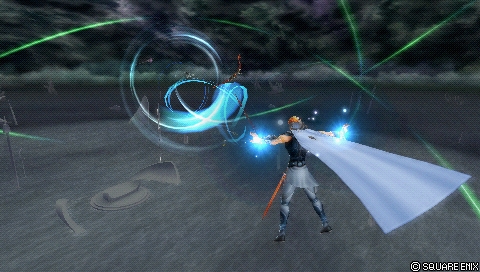
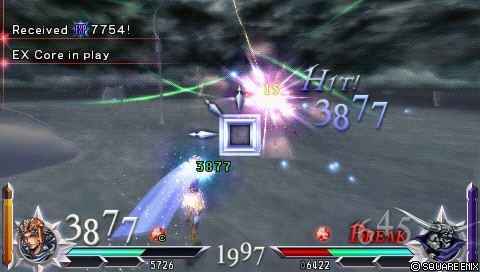
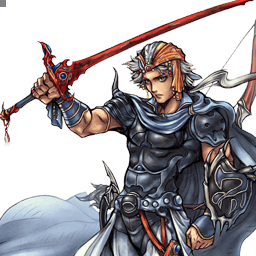
Firion is a defensive ground-oriented fighter. His main strategy revolves around controlling space with Straightarrow and punishing approaches with HP links or Shield Bash counters. With quick Swordslash pokes and Magic Arts projectiles, Firion has tools for almost any range. Poke with Swordslash, defend with Shield Bash, pressure with Straightarrow, or retaliate with Rope Knife or Reel Axe.
Firion’s defense is backed up by his damage output; His Double Trouble HP link wall rushes on the ground, which sets up assist combos consistently. With high base bravery and Side by Side, Firion can quickly fill assist gauge and get big momentum with one HP hit. Firion’s HP attacks are also strong in neutral, so stray hits and callouts are rewarding as well.
As a ground fighter, Firion is more vulnerable in the air. Aggressive opponents can overwhelm him there due to his short range and telegraphed low priority projectiles. His mobility is also below average, and his floaty air dodges leave him open to dodge punishment. Firion also cannot force opponents to fight near ground, unless he commits to slower EX gain, which is outclassed by Side by Side. In addition, his Straightarrow pressure suffers against fast movement and whiff punishes once opponents have assist.
In competitive play, Firion has been consistently ranked at high tier. He is good at controlling space and capitalizing on mistakes at mid-range. He cannot fight as effectively in the air, or prevent all opponents from staying there. He performs well against close-range characters such as Cloud, Zidane and Prishe, and small stages such as Pandaemonium - Top Floor make it harder to run away from him. Despite the weak EX generation and air combat, Firion’s high damage and straightforward gameplan have made him a consistent tournament threat.
Strengths
Weaknesses
Defensive ground combat - Firion can stand toe-to-toe in close-range combat with Swordslash & Rope Knife BRVs and Shield Bash HP for protection after a dodge.
Anti-zoning - Shield Bash's long range counter is fast, long reach, difficult to avoid and leads to assist combos. Good for shutting down low priority projectiles.
Damage - High base bravery, high base ATK, synergy with Side by Side and consistent HP link wall rushes reward Firion greatly with just one combo.
Side by Side - Firion builds assist gauge and momentum quickly with well placed HP links and strong HP attacks in neutral.
Ranged combat - Magic Arts: Bolt and more notably Straightarrow can force opponents to disengage and punish mistimed dodges even from long distances.
EX Mode's Blood Weapon - Rare, but regenerating health equal to HP damage dealt is strong at creating comebacks.
Air combat - Floaty air dodges, low combo potential, lack of effective post-dodge defense and quick approaching close-range attacks can create a lot of risk for Firion.
Enforcing defenders in his effective range - Firion's arsenal is not designed to easily enforce opponents hanging at a large stage's ceiling to engage with him. These situations often involve long-term strategies with EX and appropriate builds.
Punishable HP links - As a frequent HP link user, Double Trouble's long HP attack animation leave him vulnerable to counter attacks after Assist Change.
[Close] Quick upward swing with lance. Slightly draws foe near.
Unlocked at level 4
Mastered at 160 AP
Lance Combo is Firion's fastest move for HP links, but it also has shortest reach despite it pulling in enemies. It has long active frames, so it can still hit opponents who are trying to whiff punish Firion too early. The animation is quick, which lets Firion quickly transition into his follow-ups or the Double Trouble HP link.
As a poke, Lance Combo can be dodge cancelled relatively early, though it's still slower than Swordslash. And even if Lance Combo misses, Firion still has the mid priority lance follow-up to protect himself. That's not exclusive to this move, but it's safer in this regard than Reel Axe, one of his other braveries.
[Close] Quick sword slash. Short reach, but quick strike.
Unlocked at level 16
Mastered at 90 AP
Swordslash is Firion's main close-range poke. It can build assist gauge on whiff and push enemies away who are getting too comfortable near Firion. The reach is short, so it's not effective as a whiff punish tool. However, its startup is one of the fastest in the whole game. Firion can cancel this move into a block or other attacks (including HP), which helps him stay ambiguous against reactive opponents. [1][2]
Using Swordslash well in conjunction with other moves lets Firion establish the defensive ground combat where he excels at. If Swordslash hits, Firion can even convert into a Kuja assist combo. [3]
[Mid] Throw lightning knife. Good versus any height, long duration.
Unlocked at level 1
Mastered at 160 AP
Rope Knife is Firion's primary whiff punish tool on the ground. Similar to Lance Combo and Reel Axe, Rope Knife pulls in enemies for follow-ups, including Double Trouble HP link. [4] It has enough reach and active frames to catch ground dodges and landing lag. [5][6][7] Rope Knife has some vertical tracking as well. [8] The startup speed is slower than Lance Combo, but it's fast enough to punish plenty of moves on reaction if Firion is within range. [9]
Firion can use Rope Knife as a threat against close-range characters. It has longer reach than most pokes, so it can punish opponents for poking near Firion. [10] Rope Knife can also go through projectiles and pull the opponent in, functioning as a disjoint. [11]
Rope Knife has a glaring weakness; It's rather telegraphed. The bright yellow visual effect around the knife and Firion's distinct audio cue make it easier to react to this move. And if it's used from its maximum range, Firion doesn't have many low risk options to use as a mixup. It also generates more EX than other ground combo moves, though that's negligible when using Side by Side . Most of Rope Knife's hits don't pull the opponent towards Firion, so a "shallow" hit can cause the opponent to drop out of the move if it hits at an awkward angle. [12] The long active frames can also backfire on Firion (though not often), as higher priority moves cause Firion to stagger. [13][14]
Despite its weaknesses, Rope Knife is commonly used in competitive play. It plays an important role in Firion's defense as a distinct punisher and spacing tool. With Rope Knife, Firion's range is not limited to point blank (Swordslash) and long-range (Reel Axe, Magic Arts, Straightarrow). And it's safer to use than Lord of Arms as a punisher. And of course, Rope Knife enables high damaging assist combos with Double Trouble.
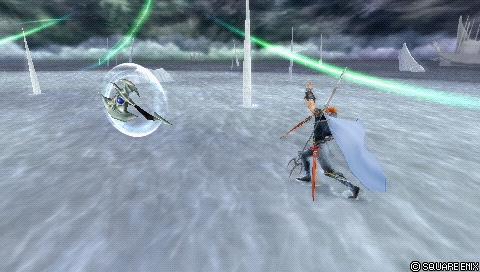
Reel Axe is a high priority projectile that pulls opponents to Firion. It has the longest lateral reach out of Firion's ground braveries. This is mainly used to break through blocks from long range. It complements Rope Knife, making it an effective mixup when used sparingly.
While the projectile travels quickly, it takes a long time to come out. Once Firion has thrown the axe, it travels in a straight line with no tracking. Any character with average run speed can evade this attack by moving sideways. Firion is also vulnerable to assist punishes during this move. All this means is that Reel Axe is rather risky to use, especially when its average damage output remains on par with Rope Knife and Lance Combo. If it guard breaks, Firion can do any of his follow-ups, and the critical hits can also deal more damage. However, this attack is not essential for increasing Firion's damage in competitive play.
Follow-ups
Rope Knife, Lance Combo and Reel Axe can be followed up with one of three attacks. Because the bravery starters have identical base damage, the total base damage will be shown in parenthesis.
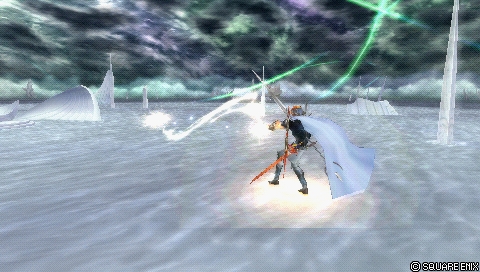
Neutral follow-up (Punch) is Firion's highest damaging ender for bravery damage. It's a very fast attack with long knockback for wall rushes. Since Firion often goes for Double Trouble, the punch can make Firion safer against early Assist Changes. Firion can use this to sneak in bravery damage right before the opponent escapes reflexively.
Punch sees less use than Double Trouble and Lance follow-ups due to its weaker combo routes and reliance on wall rush. Its base damage is quite good, and more worthwhile with physical damage builds. However, Firion benefits more from HP links and assist combos on average.
Towards follow-up (Slash & Arrow) is a two-stage attack that leads to Chase. This is mainly used with EX builds, and it is outclassed by Firion's other options most of the time. Firion can combo into assist after the first sword swing, but it's not a high damage starter.
The main issue lies in the Slash & Arrow's return on investment; Firion's damage comes from HP wall rushes with assist, and his other attacks don't generate much EX on average. Slash & Arrow may generate the most EX out of his braveries, but majority of it comes from the long-range arrow shot. Getting all of the EX requires dodging towards opponent and staying airborne for a moment. This means Firion gives up HP damage and ground moves for EX gauge, which he already struggles to fill.
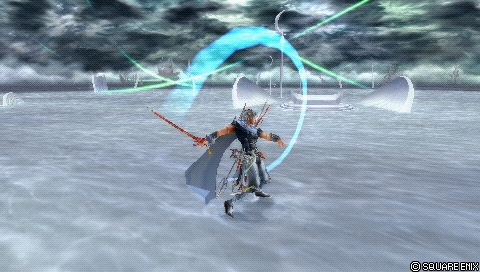
Away follow-up (Lance) is a combo attack that wall rushes on the ground. Its base damage may be low, but it has utility thanks to melee mid priority and consistent wall rushes. The wall rush opens up assist combos, and the mid priority protects Firion from hasty retaliations. It can be done even if the ground combo braveries (Rope Knife etc.) miss, which is good against greedy opponents. [15]
Firion swings the weapon around him, which has good coverage around his body, so Lance doesn't have an explicit "blind spot". Lance also pulls nearby opponents in, so they cannot just wait for Firion to finish the attack before punishing it. It does have decent recovery before it can be dodge cancelled though, so Firion should not always use this. [16][17] Since it stays out for a while, Firion can also lose to advancing high priority moves. [18]
Aerial
Similar to ground moves like Lance Combo, Firion's Magic Arts have built-in follow-ups. Two follow-ups can be done, and the corresponding Magic Arts braveries do not have to be equipped to do them.
Magic combo starting with Fire. Can swap spell from second shot.
Unlocked at level 24
Mastered at 90 AP
Magic Arts: Flame is a slow, homing projectile. Its main use is setting up Shield Bash counters if it is reflected. Firion uses this to supplement his combat, even though it has a low hit rate.
Flame has low damage, but it has just enough hit stun to be used in combos if Firion is ever ready for it.
As mentioned earlier, Flame is not used to control space conventionally. Its low priority loses to almost everything, but this is a blessing in disguise; If Flame is reflected, Firion can block it with Shield Bash and activate the barrage of long-range projectiles that have very strong tracking. Flame's slow travel speed makes this fairly easy to notice by most intermediate and advanced players. However, Firion can cast at least one Flame rather safely without getting assist punished for it. So if Firion has time to cast this at all, he can at least attempt to pressure opponents over time this way.
Magic combo starting w/Blizzard. Can swap spell from second shot.
Unlocked at level 1
Mastered at 90 AP
Magic Arts: Frost is a single projectile that moves towards opponent in a straight line. It is the only air bravery that hits reliably after blocking an opponent due to its speed, but the reward is pretty low. It does low damage and generates no EX.
Frost is not always prioritized in competitive play, but it can lead to an elaborate chase setup if two of them are cast during an assist combo.
Magic combo starting w/Thunder. Can swap spell from second shot.
Unlocked at level 1
Mastered at 90 AP
Magic Arts: Bolt spawns a projectile at the opponent's location and wall rushes them on the ground. This is great for harassing opponents from a distance thanks to its active duration, decent hitbox and the repeated casts. Most of Firion's projectiles don't go through solid obstacles, like walls. This does not apply to Bolt, so Firion can use it against opponents who are trying to stay behind cover. [19][20] Despite its low priority, Bolt encourages opponents to move as getting hit by this can lead to an assist combo or more Bolt pressure.
Bolt takes almost a second to come out and it won't track the opponent once it's been casted. Therefore it is not recommended to be used as a general zoning tool when opponents are rapidly approaching Firion.
[Close] Slash in midair. Short reach, but quick strike.
Unlocked at level 31
Mastered at 90 AP
Midair Swordslash is similar to the grounded version, and is often equipped at all times. It is used similarly as a poke that can push opponents away. The sheer speed also lets Firion protect himself after air dodge as well.
The main difference is that aerial Swordslash can wall rush on the ground. This is good for assist combos, and it's practically higher reward for Firion compared to the grounded Swordslash. However, it's important to remember that Firion is not a very strong aerial fighter; His other air attacks are slow and he falls slowly after an air dodge. Aerial Swordslash's range is very short, so it can easily miss even if Firion blocks a melee attack successfully. [21] It can be cancelled quickly to build assist gauge, but this is not a preferred situation for Firion.
Aerial Swordslash is also used as a combo filler during ground Kuja assist combos, usually after ground wall rush. [22][23]
If Firion does not cancel midair Swordslash, he will fall down until the animation finishes.
[Block] Create shield of light. HP attack on successful block.
Unlocked at level 20
Mastered at 130 AP
Shield Bash (Close).Shield Bash (Far) fires multiple homing spells that can be difficult to avoid.
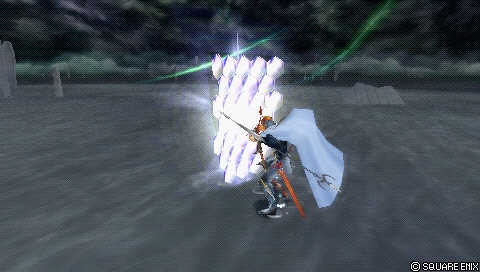
Shield Bash is Firion's command block. It complements his ground combat and protects Firion after ground dodges. When Firion blocks an attack with this, he will respond with a counterattack. There are two counters, near and far. The type of counter depends on how far the opponent is from Firion at that moment.
Near version
A barrage of close-range knife throws.
Activates if Shield Bash blocked an attack while opponent was very close.
The "close" threshold is approximately at Firion's head and 1,1 World of Darkness' tiles.
The attack can be Melee or Ranged priority, even from assist. Near version still activates based on distance to opponent.
Firion tracks the opponent, turning around if necessary. Has a low vertical angle.
Far version
Three long-range homing spells based on Flame, Frost and Bolt magic arts.
Activates if Shield Bash blocked an attack while opponent was out of "close" threshold.
Blocks Ranged Low attacks for majority of the counter.
Shield Bash has multiple use cases. It can counter long-range projectiles and discourage zoning. It can be used after a ground dodge to protect against dodge punish attempts. Firion can even set up a Shield Bash by having his Magic Arts: Flame reflected back at him. It's a powerful defensive tool, partly because it can make opponents think twice before attacking Firion.
Much of Shield Bash's strengths can be attributed to its blocking duration and the potency of the far version. Shield Bash blocks instantly on frame 1, which gives Firion gapless defense after dodging with Evasion Boost ability. The homing spells also travel very far and very quickly; Dodging all of them requires Precision Evasion or very specific positioning and dodge timing. [24] This is because the projectiles are huge, active for a long time, and they leave very few gaps in between them. If either first or second projectile hits, the rest is guaranteed.
The third projectile (bolt) is a 1-hit HP that generates 60 EX and knocks opponent upward for an assist combo. If the bolt hits from below, it can trigger the HP hit multiple times. That means multiple meter depletion ticks and an excessive amount of EX Force on the field. Since Firion is a prominent Side by Side user, Shield Bash can also fill both assist gauges effectively in this manner.
As for downsides, Shield Bash can only block low priority attacks. Any mid or high priority attack, such as Garland's Lance Charge or Zidane's Free Energy cause Firion to get staggered or guard crushed. [25] In that sense it is not much different from a regular block. Shield Bash also struggles against halo camping in large stages; Firion cannot block attacks if his opponent insists on staying away from him. The far version can also be interrupted with assist, but Auto Assist Lock On extra ability helps with that. Shield Bash (far) automatically interrupts assists with this ability, as long as more projectiles can come out. Firion will keep aiming at the assist even after opponent's assist disappears, which makes Firion more vulnerable to punishes.
[Long] Fire arrow of light. Charge to adjust timiing.
Unlocked at level 1
Mastered at 130 AP
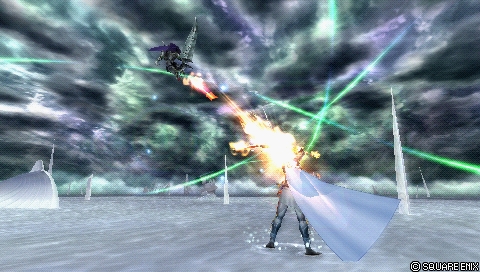
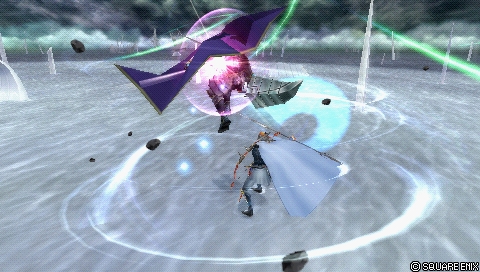
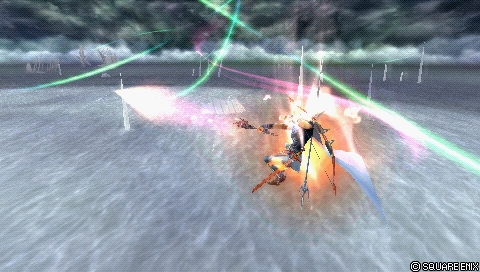
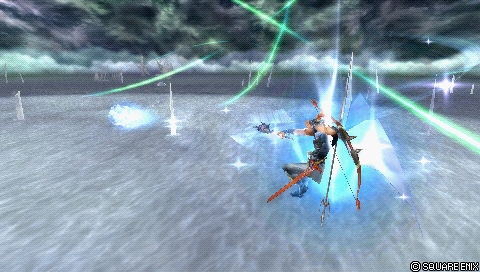
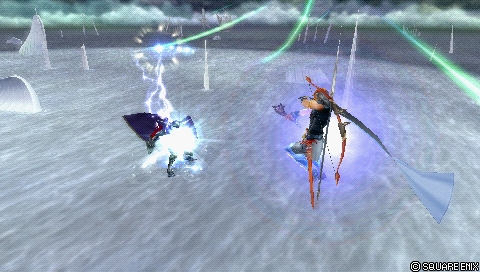
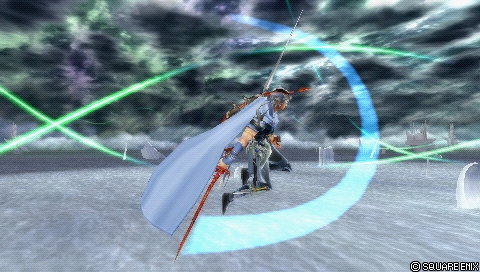
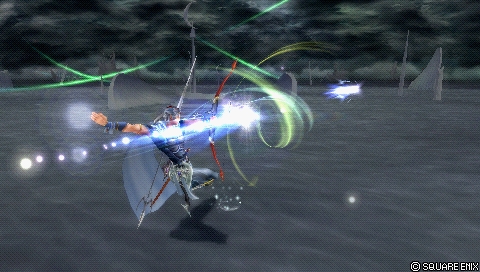
Straightarrow is Firion's primary zoning tool. It is a single projectile that travels at high speed when fired. What makes this move really effective is Firion's ability to hold it. As long as Square is held, Firion continues to aim at the opponent regardless of where they move. Firion adjusts his aim fairly quickly, so he can snipe slow movement, whiffs and dodges [26] with relative ease by releasing Square .
The ground version of Straightarrow is not used as often as the midair version. However, it can be occasionally useful to Firion as a slightly faster version of the move. This is because Firion does not have to jump in order to use it. Firion is considered airborne when using Straightarrow on the ground, so fast air assists can punish him.
Straightarrow has a maximum charge time of roughly 1 second (from startup, ~2 seconds in total). After that, Firion will fire Straightarrow automatically. This applies to midair version as well.
Firion uses weapons to fire two energy waves in quick succession. Lord of Arms tracks around Firion, which can force a dodge in close-range. This is great, because the second wave can punish regular dodges and still wall rush. Lord of Arms can be effective as a high priority mixup against fidgety opponents. It has enough lateral reach to punish landing lag as well. [27] It wall rushes on the ground, which leads to damaging assist combos. Lord of Arms has a hitbox above Firion, which comes out the fastest, so it does work as an anti-air if Firion needs it. Firion is considered grounded during this move, so he won't always get punished by slow assists (Kuja ground BRV, Aerith air BRV). Also, Lord of Arms can cause multiple HP hits with the second wave. This greatly increases assist gauge filled with Side by Side and meter depletion.
Although Lord of Arms is powerful, it can still be dangerous to use recklessly. It has long recovery, which can be punished. [28] It may have good tracking, but it's not omnipotent; The waves don't reach high up into the air, and they can be avoided by dashing sideways with Omni Ground Dash or Multi Air Slide. The invincibility from Evasion Boost and / or Precision Evasion can also evade Lord of Arms with proper timing. Firion also needs to look out for bravery breaks from assists; Firion always fires both energy waves even if they miss. That means if the opponent cannot evade the second wave after dodging, they can call assist and hit Firion after taking HP damage. Auto Assist Lock On support ability won't do much in this case.
Overall Lord of Arms has high upset potential, but it still leaves Firion vulnerable if it misses. A strong move when used carefully.
Branching from Lance Combo. [Combo] Multi-weapon attack.
Unlocked at level
Mastered at 130 AP
Double Trouble is Firion's HP link, which causes solo HP damage and devastating assist combos with Side by Side . It is available with three of Firion's ground braveries, and Firion is expected to have it in most matchups. Double Trouble knocks at a downward diagonal angle, and it wall rushes on the ground in most stages. [29] This creates consistent damage output for Firion whenever he gets a good hit on the opponent.
If opponent escapes from Double Trouble with Assist Change, Firion will keep doing this move even when it misses. That makes Firion vulnerable to punish attempts. [30][31] However, Firion can quickly cancel the recovery into a dodge after the final hit. [32] This makes Double Trouble a bit safer to use, and puts the onus on the opponent to punish properly. [33]
[Long] Fire arrow of light. Charge to adjust timing.
Unlocked at level 1
Mastered at 130 AP
Firion's primary zoning tool, but in the air. This is identical with the ground version. The main difference boils down to this being usable in the air; Whenever Firion is in the air, he can apply pressure with Straightarrow. Hold Square to aim, release to fire. Its fast travel speed makes it good for punishing moves from a distance. [34] It can still miss against fast movement, [35][36], but it's great at capitalizing on opponent's mistakes otherwise.
Straightarrow can quickly rack up damage, because it forces opponents to stop and respond in specific ways, and punishes them if they fail. [37][38][39] It can Wall Rush, which is great for assist follow-ups. [40] With Side by Side , Firion also gets a chunk of assist gauge whenever Straightarrow hits. [41] All these factors contribute greatly to Straightarrow's staying power. It can slow down the pace of a match and yields good reward on hit without demanding conditions. Straightarrow is a character-defining move in several aspects.
Firion is vulnerable in a few ways during Straightarrow (both ground and midair). For one, he cannot quickly turn his aim behind him, so he needs to make sure opponents cannot dodge behind his back. [42] Firion can still hit behind his back if he can reorient himself in time, [43] but he needs to be aware when his maximum charge time ends.
The second vulnerability has to do with assists; Once Firion fires the projectile, his recovery is long enough for quick air assists to punish him. [44] Furthermore, if Firion gets predictable, the opponent can call assist before taking damage from Straightarrow. [45] This can be exploited further; When Firion deals HP damage, the assist can bravery break him immediately afterwards. [46] That can have a devastating effect on Firion's momentum just for a single Straightarrow. Being mindful of resources, Straightarrow release timings and maximum charge time will help a lot in long matches. And lastly, Firion cannot fire Straightarrow in under a second, so he can always take damage before then. [47]
With Auto Assist Lock On, Firion can automatically aim at assists that are called when Straightarrow is being held. [48] This makes it much safer to use in neutral. [49] This can give Firion more assist gauge with Side by Side , but it can also set himself up for a pincer attack from his opponent. [50] Auto Assist Lock On also makes it harder to protect Firion's own assist if opponent escapes with Assist Change; Auto Assist Lock On forces Firion to aim at the assist even when they disappear after Assist Change. [51]
[Mid] Use all weapons. Steals bravery, then HP attack.
Unlocked at level 8
Mastered at 130 AP
Weaponsmaster is Firion's primary aerial HP for bravery damage. It is commonly used to end assist combos after Kuja assist. It also works as a no-frills counter after blocking an opponent. [52] It has good lateral range and it stays active for majority of the attack once it's out. Firion can use this to challenge dodges in smaller spaces, and if it hits, it can wall rush for an assist combo.
Firion will automatically turn towards opponent during startup. Even if an opponent goes under him, Firion will quickly adjust his aim. Afterwards, Firion's direction is fixed, and he will move slowly towards opponent. This slightly increases Weaponsmaster's maximum range. The long animation makes Firion susceptible to counterattacks. [53] As a result, it carries high risk for controlling space compared to Straightarrow and Lord of Arms. Many competitive assists have faster air braveries than ground braveries, so in terms of assist punishes, Weaponsmaster is not afforded the same degree of safety as Lord of Arms. Firion should also be careful if opponent can escape with Assist Change, since he can be punished afterwards. [54]
EX Mode: Blood Weapon equipped!
Effects:
Regen
Critical Boost
Blood Weapon
Firion has a strong EX mode due to the health regeneration from Blood Weapon. The major downside is that Firion's EX generation is weak overall, and is outclassed by high base bravery and Side by Side builds. Firion may not get access to EX mode often, but if he does, he can benefit greatly from it.
Blood Weapon
[Activates when HP attack hits] Absorbs HP equivalent to damage dealt.
Blood Weapon heals Firion whenever he lands an HP attack during EX mode. It will heal as much health as Firion had bravery at the time. Even though it heals with HP damage, it does not work with Wall Rush HP damage. Therefore this effect is strictly more powerful at higher bravery.
Blood Weapon is very powerful for making comebacks, or establishing an exceptionally good health lead. The healing effect also applies to EX Burst as well, so Firion can guarantee at least two heals if he lands an HP attack. If Firion is already in a winning position, Blood Weapon allows him to secure a win even more decisively compared to most characters.
EX Burst: Fervid Blazer
A chain of attacks releasing the power of his weapons. Damage dealt adds to his own HP. Enter the commands that display before the attack.
Damage multiplier (initial)
Damage multiplier (rest)
Type
3 x 3 (9)
4 x 3, 5 x 2, 13, 6 x 2, 12, 4 x 8 (100 total)
Physical
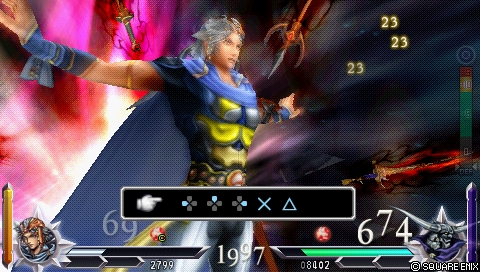
Fervid Blazer demands five button inputs in order, shown from left to right. Firion has roughly two seconds to complete the button sequence. The button sequence may change each time, but the common structure is three directional inputs, then two face button inputs. The d-pad must always be used, even if d-pad is used to move the character.
Each wrong button press locks one input from the sequence. That means Firion will do one attack less during the EX Burst. If there are no successful inputs, Firion will transition straight into the last barrage of arrow shots.
Firion's practical combos are mostly limited to assist combos. As an HP linker, he benefits a lot from any Wall Rush he gets from Double Trouble, Lord of Arms and Straightarrow. He works with a few competitive assists, of which Kuja is most reliable.
Solo
Firion's solo combos are situational at best, either requiring wall or setting up Magic Arts: Fire beforehand.
Condition
Combo
Base Damage
EX
Notes
Projectile Starter Set Up Projectile Stray Hit Combo
Magic Arts: Flame > Rope Knife > Double Trouble
40 + HP & WR
60
Base Damage (Breakdown): 10 > 20 > 10 + HP & WR
Opponent Assist (Comrade's Vow): ???
EX Force (Breakdown): 0 > 30 > 30
If Flame hits, it has just enough hit stun for solo combos. The challenge here is hitting the opponent with Flame while being actionable. Assists can help with that, but in a neutral situation this may not be as practical. Rope Knife, Straightarrow and Lord of Arms are all serviceable followups, assuming Firion is close enough to land them.
Poke Starter Ground, Near Wall BRV Damage & Assist Gain
Base Damage (Breakdown): 20 > 5 > 20 > 10 + HP & WR
Opponent Assist (Comrade's Vow): ???
EX Force (Breakdown): 15 > 15 > 30 > 30
Followup (↑) has just enough hit stun for Firion to dodge and combo into Rope Knife. This requires being very close to wall, as this relies on reducing opponent's knockback and keeping Firion close. The dodge cancel and the following Rope Knife must be done as soon as humanly possible, so the timing is strict.
Lance Combo and Reel Axe are more reliable combo starters here, but Rope Knife can start this combo as well. It is a niche solo combo in most stages, but Firion does get more assist gauge for using different attacks. Naturally, it also deals more BRV damage.
Firion has a straightforward and effective synergy with Kuja. He can Wall Rush off of his key moves, and then have Kuja follow up. Firion typically ends his combos with Weaponsmaster or Straightarrow (midair). Whenever Firion gets a ground Wall Rush (e.g. Double Trouble), he can also increase the reward on hit with fillers.
Base Damage (Breakdown): 20 > 8 > 43 (Assist) > 18 + HP & WR
Opponent Assist (Comrade's Vow): 142
EX Force (Breakdown): 45 > ~30
Not particularly strong, but suitable for beginners.
Followup (↓) can also catch aggressive opponents with mid priority if Rope Knife misses. Firion players should keep an eye out for this if they use this move.
Punish Starter Ground, Wall Rush HP Link, Multipurpose
Base Damage (Breakdown): 20 > 10 + HP & WR > 46 (Assist) > HP > 16 + HP & WR
Opponent Assist (Comrade's Vow): 141
EX Force (Breakdown): 30 > ~30 > 0 > ~30
A Firion classic. Recommended for high base bravery builds. Straightarrow filler serves a few purposes; It adds meter depletion, resets base BRV recovery to normal and increases critical hit rate for Weaponmaster during base BRV recovery. Straightarrow can be fired whenever during Kuja's multi-hits, and if it Wall Rushes, it's even better for Firion.
Base Damage (Breakdown): 10 + HP > 4,16,20 (40 total, Assist) > 18 + HP & WR
Opponent Assist (Comrade's Vow): 102
EX Force (Breakdown): 60 > ~30
Shield Bash's long range counter controls a lot of space, and leads to assist combo on hit. Firion should be careful about his positioning, however; Normally the thunder bolt knocks opponent upward once. If the thunder bolt hits from below, it can knock opponent up multiple times.
This generates lots of EX Force (and assist gauge with Side by Side ), but it also delays Kuja assist timing a lot. The exact timing can be difficult to measure at first, but roughly 1 second after the first bolt hit can work. If in doubt, please watch the example video linked here.
HP Projectile Starter Wall Rush (Ground) Zoning Reward, Multipurpose
Base Damage (Breakdown): HP + WR > 47 (Assist) + HP (& WR) > 18 + HP & WR
Opponent Assist (Comrade's Vow): 94
EX Force (Breakdown): 0 > 0 > ~30
Straightarrow combo against grounded opponents. Matchup dependent, but still recommended for high base BRV builds. The Straightarrow filler serves the same role as with prior core combos; Resets base BRV recovery, adds meter depletion and increases critical hit rate for Weaponsmaster.
Firion mainly uses Side by Side builds to capitalize on his strengths as an HP linker. Most of his attacks don't generate much EX (or none), so the competitive multiplayer builds tend to focus on assist, high base bravery and HP Wall Rush damage instead.
indicates a "Gear" extra ability or the use of Equip Glitch. The total Capacity Point cost assumes the equip glitch is done.
This is a Side by Side damage build centered around high base bravery. Side by Side gives a chunk of assist gauge for doing HP damage, which lets Firion use Kuja assist more often. Whenever Firion gets an HP Wall Rush with Straightarrow or Double Trouble, he can deal over 2000 HP damage. A single Double Trouble Kuja assist combo ranges between 4,130 - 4,712 HP damage. This depends on Firion's combo route, but three assist combos are often enough to win. Since Firion gets HP attacks from his ground braveries and any Straightarrow that hits, he can deal lots of damage quickly. This is true for any character that uses this build such as Golbez, but Firion benefits from it regardless.
Base bravery ignores opponent's DEF stat, so the damage output is pretty consistent, assuming Firion does not get hit often. Thornlet also reduces bravery slightly whenever Firion successfully dodges or blocks an attack. This can be offset with Back-Breaking Straw , or punishing the opponent if their attack has long recovery.
The booster accessory multiplier is at x4.6 with Opponent Summon Unused . If opponent does not have a summon equipped, the maximum multiplier is x3.5.
Assist
Firion Assist Data
Type
Attack
Startup
Position
Spawn
Damage multiplier
Effects
BRV
Rope Knife
23F
Ground
Opponent
2 x 10, 25 (45)
Wall Rush
BRV
Magic Arts: Flame
25F
Air
Opponent
10 each (up to 30)
-
HP
Straightarrow
61F
Ground
Opponent
-
Wall Rush
HP
Weaponmaster
52F
Air
Opponent
2 x 11 (22)
Wall Rush
Assist Overview
Firion assist is one of the weakest assists in the game. Very limited combo potential and high requirements for notable reward make it difficult to justify him for any character. He enables loops with Magic Arts: Fire [55], but setting them up requires ground or ceiling, as well as characters who can hold long enough for Fire to hit. Unfortunately Firion assist does not excel in any other area. Whiff punishment, damage and meter depletion alike are all diminished due to BRV assists' reward and steep requirements. For example, Rope Knife pushes opponents away quickly and depends on Wall Rush to make combos easier at all.
HP assists are also expensive to use and too slow to use for Wall Rush combos. Straightarrow is often charged, which makes it impractical for combos, but can add pressure in volatile situations. Weaponsmaster is similarly slow, but at least it occupies space for a moment once it's out. It might be useful in small stages on an occasion, especially Phantom Train.
Synergies
Firion works with various competitive assists, though very few of them amplify Firion's strengths.
Kuja
The most common and powerful synergy. BRV assists combo from every Wall Rush, which Firion can do consistently. They also hold the opponent for Straightarrow fillers, which adds more meter depletion (with equipment) and critical hits for combo finishers. Kuja pushes Firion's damage potential far, while still having some whiff punish capability. A strong assist all around and great for anyone learning Firion.
Sephiroth
Sephiroth has a faster ground BRV assist than Kuja, but shorter holds, hit stun and harsher knockback angles make it harder to do anything extraordinary. 1 Swordslash filler can be done during Reaper, but Weaponsmaster barely connects after Reaper and Sudden Cruelty Assist Chases. It's far from the worst synergy in the game, but Kuja assist eclipses Sephiroth here in terms of performance and consistency.
Aerith
Less common for Firion. Aerith enables even more HP damage than Kuja at the cost of whiff punishes and reduced meter depletion. The main strategy here involves high base bravery builds and double assist combos; With Double Trouble and Straightarrows, Firion can spend two assist gauges to do three HP attacks in a single combo.

 and consistent HP link wall rushes reward Firion greatly with just one combo.
 (Neutral) for Punch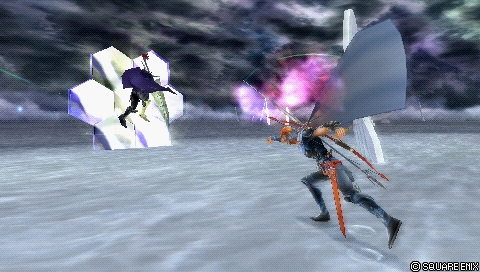


 is held, Firion continues to aim at the opponent regardless of where they move. Firion adjusts his aim fairly quickly, so he can snipe slow movement,