| Stats
|
| HP |
10904
|
| CP |
450
|
| BRV |
1215
|
| ATK |
176
|
| DEF |
184
|
| LUK |
61
|
| Max Booster |
x2.7
|
Special Effect: None
| Equipment
|
| Assist |
Kuja
|
Weapon ![]()  |
Seventh Heaven
|
Hand ![]()  |
Hero's Shield (CP Glitch)
|
Head ![]()  |
Dueling Mask
|
Body ![]()  |
Heavy Armor (CP Glitch)
|
| Accessory 1 |
![]()  Block Ring Block Ring
|
| Accessory 2 |
![]()  Zephyr Cloak Zephyr Cloak
|
| Accessory 3 |
![]()  Dismay Shock Dismay Shock
|
| Accessory 4 |
![]()  Battle Hammer Battle Hammer
|
| Accessory 5 |
![]()  Empty EX Gauge Empty EX Gauge
|
| Accessory 6 |
![]()  Pre-EX Mode Pre-EX Mode
|
| Accessory 7 |
![]()  Pre-EX Revenge Pre-EX Revenge
|
| Accessory 8 |
![]()  Blue Gem Blue Gem
|
| Accessory 9 |
![]()  Miracle Shoes Miracle Shoes
|
| Accessory 10 |
![]()  Side by Side Side by Side
|
Summon ![]() 
|
None
|
{{{dataBRV}}}
{{{dataHP}}}
| Bravery attacks
|
| Ground |
Aerial
|
| HP attacks
|
| Ground |
Aerial
|
![]()
 indicates a "Gear" extra ability or the use of CP / Equipment glitch. The total CP cost will assume the glitch is done.
| Bravery attacks
|
| Ground
|
Aerial
|
| Beat Rush |
Moonsault Kick
|
| Waterkick |
Falcon's Dive
|
| Blizzaga |
Elbow Smash
|
| HP attacks
|
| Ground
|
Aerial
|
| Rolling Blaze |
Meteor Crusher
|
| Burning Arrow |
Rolling Blaze
|
| Somersault (from Waterkick)
|
| Basic Abilities
|
| Actions |
Support |
Extra
|
| Ground Evasion |
Always Target Indicator |
Precision Evasion
|
| Midair Evasion |
EX Core Lock On |
Counterattack
|
| Ground Block |
Assist Lock On |
Assist Critical Boost
|
| Midair Block |
Disable Sneak Attack
|
| Aerial Recovery |
EXP to HP
|
| Recovery Attack |
Master Guardsman
|
| Controlled Recovery
|
| Wall Jump
|
| Free Air Dash
|
| Ground Dash
|
| Free Air Dash Boost
|
| Assist Gauge Up Dash
|
| Speed Boost
|
| Jump Times Boost
|
| Ground Evasion Boost
|
| Midair Evasion Boost
|
| Evasion Boost
|
Build overview
A Side by Side build that doesn't specialise in damage, but instead focuses on a good balance of offense and defense. Most equipment come with useful effects to help with defense (Hero's Shield's Wall Rush HP defense for example), and accessories lean towards meter depletion and bravery boost on block and dodge. Side by Side synergises well with the three boosters for a consistent x2.7 multiplier throughout the match.
Tifa's bravery damage output is often average if not below average, which is where higher base bravery, her exclusive weapon and Assist Critical Boost come in. Landing any HP attack outside of assist combos will produce a chunk of assist bar which will help Tifa stay competitive with the meter.
Kuja assist combos off of wall rushes, staggers and unfinished bravery sequences (e.g. Elbow Smash 1st hit), which is great for learning and applying basic assist combo theory. Tifa also has access to her highest damaging assist combo filler (2x Falcon's Dive) if she wall rushes with Falcon's Dive, Meteor Strike or Rolling Blaze.
Because Side by Side freezes Tifa's EX gauge, she cannot gain EX at all. Be sure to collect any EX Cores that appear to prevent the opponent from taking advantage of the EX Force that Tifa generates.
CP allocation
This build has no spare CP. If you wish to use additional CP to support your playstyle, you will have to replace an accessory with Hero's Essence ![]()
 .
.
Substitutes
Substitutes here.
Attacks
Staple
These attacks are recommended regardless of matchup, stage or player preference.
| Bravery attacks
|
| Ground
|
Aerial
|
| Beat Rush |
Elbow Smash
|
| Waterkick |
Falcon's Dive
|
| HP attacks
|
| Ground
|
Aerial
|
| Rolling Blaze |
Meteor Crusher
|
Somersault
(from Waterkick) |
Rolling Blaze
|
Waterkick: Poke and an assist combo starter with Somersault HP link.
Beat Rush: Poke and post-dodge defensive option. Can hit confirm the Kuja assist reliably with the first two hits.
Elbow Smash: Aerial close range poke, dodge punisher. An important assist combo starter either with the first hit or after wall rushing. Practice confirming this visually.
Falcon's Dive: Relatively safe downward (air-to-ground) poke, post-dodge defense with Feint. Assist combo starter with wall rush and for Kuja assist specifically, Tifa's strongest assist combo filler.
Rolling Blaze (ground): Assist combo starter and an anti-air.
Somersault: HP link from Waterkick. Assist combo starter and increases Waterkick's overall threat.
Meteor Crusher: Air assist combo ender, block punisher and pre-emptive dodge punisher when fully charged. Can combo into Kuja when sending the opponent into a corner (the wall / corner reduces knockback distance).
Rolling Blaze (midair): Air assist combo ender, air-to-ground dodge punisher / clash / space occupation.
Flexible
These attacks are great to have, but can be swapped or removed depending on matchup, stage or player preference.
| Bravery attacks
|
| Ground
|
Aerial
|
| Blizzara |
Moonsault Kick
|
| Blizzaga |
Dolphin Blow
|
| HP attacks
|
| Ground
|
Aerial
|
| Meteor Strike |
--
|
| Burning Arrow |
--
|
Blizzara: Ranged low projectile that becomes mid priority when it explodes at max range. It can convert to assist combo on hit after wall rushing. Occupies space in front of Tifa, but be wary of the initial low priority.
Blizzaga: Ranged mid projectile, can convert to assist combo on hit after wall rushing. Spawns on top of opponent and has limited vertical reach, but it is mid priority all the way through, staggering regular blocks.
Moonsault Kick: Slower close range poke with higher brv damage, post-dodge defense with Feint. Assist combo starter with a chase setup that doesn't require a wall, making this a good recommendation for Aerith assist specifically.
Dolphin Blow: Upward poke that is slightly faster than microdash Elbow Smash. Also works as a post-dodge defense tool with Feint. Assist combo starter with wall rush and it is Tifa's highest damaging bravery filler during air Kuja assist at the ceiling. Recommended vs. Sephiroth and Cecil.
Meteor Strike: Pseudo-poke with forward movement, slight low-profile, longer active frames and bravery damage than Rolling Blaze when charged. Leads to ground Kuja brv assist combos and of course, let's Tifa add damage with Falcon's Dive.
Burning Arrow: Single hit HP. Kuja assist can follow up after a wall rush, which increases Burning Arrow's damage potential. Because it doesn't inflict bravery damage, it also avoids EX Revenge counters with EX depletion. Good as a ground dodge punish, ground block punish or as an otherwise hard callout move.
Avoid
Generally not recommended due to being outclassed by other attacks or having no distinct utility.
| Bravery attacks
|
| Ground
|
Aerial
|
| Blizzard |
--
|
| HP attacks
|
| Ground
|
Aerial
|
| Meteodrive |
--
|
Blizzard: Low priority projectile with longest reach out of the Blizzard type spells. With other spells already having higher priority and providing better reward on hit, Blizzard is not recommended for this build. It does have enough hit stun to combo into Kuja brv assist, but this requires calling him pre-emptively for consistency.
Meteodrive: Low brv damaging HP with wall rush. The wall rush lets Kuja follow up, but otherwise it is not particuarly noteworthy compared to Tifa's other HP attacks. Meteodrive does have better feint than Meteor Strike and short animation overall, however.
| Stats
|
| HP |
9683
|
| CP |
450
|
| BRV |
1623
|
| ATK |
175
|
| DEF |
183
|
| LUK |
60
|
| Max Booster |
x3.5
|
Special Effect: None
| Equipment
|
| Assist |
Aerith
|
Weapon ![]()  |
Piggy's Stick (CP Glitch)
|
Hand ![]()  |
Chainsaw (CP Glitch)
|
Head ![]()  |
Thornlet
|
Body ![]()  |
Maximillian (CP Glitch)
|
| Accessory 1 |
![]()  Muscle Belt Muscle Belt
|
| Accessory 2 |
![]()  Sniper Eye Sniper Eye
|
| Accessory 3 |
![]()  Bravery Orb Bravery Orb
|
| Accessory 4 |
![]()  Dismay Shock Dismay Shock
|
| Accessory 5 |
![]()  Empty EX Gauge Empty EX Gauge
|
| Accessory 6 |
![]()  Summon Unused Summon Unused
|
| Accessory 7 |
![]()  Pre-EX Mode Pre-EX Mode
|
| Accessory 8 |
![]()  Pre-EX Revenge Pre-EX Revenge
|
| Accessory 9 |
![]()  Back-Breaking Straw Back-Breaking Straw
|
| Accessory 10 |
![]()  Side by Side Side by Side
|
Summon ![]() 
|
Rubicante
|
{{{dataBRV}}}
{{{dataHP}}}
| Bravery attacks
|
| Ground |
Aerial
|
| HP attacks
|
| Ground |
Aerial
|
![]()
 indicates a "Gear" extra ability or the use of CP / Equipment glitch. The total CP cost will assume the glitch is done.
| Bravery attacks
|
| Ground
|
Aerial
|
| Waterkick |
Moonsault Kick
|
| Beat Rush |
Elbow Smash
|
| Blizzara |
Falcon's Dive
|
| HP attacks
|
| Ground
|
Aerial
|
| Rolling Blaze |
Meteor Crusher
|
| Meteor Strike |
Rolling Blaze
|
| Somersault (from Waterkick)
|
| Basic Abilities
|
| Actions |
Support |
Extra
|
| Ground Evasion |
Always Target Indicator |
Precision Evasion
|
| Midair Evasion |
EX Core Lock On |
Disable Counterattack
|
| Ground Block |
Assist Lock On |
EXP to Assist
|
| Midair Block |
Best Dresser
|
| Aerial Recovery
|
| Recovery Attack
|
| Controlled Recovery
|
| Wall Jump
|
| Air Dash
|
| Free Air Dash
|
| Ground Dash
|
| Multi Air Slide
|
| Free Air Dash Boost
|
| Assist Gauge Up Dash
|
| Speed Boost
|
| Jump Boost
|
| Jump Times Boost+
|
| Ground Evasion Boost
|
| Midair Evasion Boost
|
| Evasion Boost
|
| Descent Speed Boost
|
Build Overview
A Side by Side damage build that invests in high base bravery and HP wall rush to increase Tifa's damage output exponentially with Aerith assist specifically. The idea is simple: Land an HP, combo into Aerith's Seal Evil and do another HP late enough for base bravery to fully recover. A single assist combo can do over 3000 HP damage.
In match-ups where Tifa can compete with her Somersault HP link or Rolling Blaze such as Cloud and Firion, she can output a lot of HP damage without relying on high attack stat or critical hits. Any HP guarantees an Aerith followup (Meteor Crusher only at wall) and bravery hits still work well enough to secure at least one HP attack in an assist combo. Aerith is the only competitive assist that lets Tifa assist combo off of a completed Moonsault Kick without walls.
The infamous double assist combo is also possible and it's where this build really shines. If Tifa can wall rush again and use another assist meter during the first Seal Evil, she can do Rolling Blaze and call Aerith once more. Needless to say, this increases damage even further.
CP Allocation
15 CP is available for another ground HP attack, the Auto-Assist Lock On support ability or additional action abilities. Removing Air Dash and Descent Speed Boost frees up another 10 CP for a total of 25 CP.
Substitutes
Substitutes
| Equipment |
Replacement |
Notes
|
Muscle Belt ![]()  |
Zephyr Cloak ![]()  / BRV = 0 / BRV = 0 ![]()  / Hero's Essence / Hero's Essence ![]()  / Great Gospel / Great Gospel ![]()  / Hero's Seal / Hero's Seal ![]()  / Winged Boots / Winged Boots ![]()  |
Muscle Belt isn't crucial for damage output, so it can be replaced with one of the listed accessories for increased survivability, CP (extra abilities for increased crit rate, base HP or BRV) or bravery recovery.
|
Back-Breaking Straw ![]()  |
Together as One ![]()  / accessory of your choice / accessory of your choice |
Back-Breaking Straw negates Thornlet's bravery boost penalty on dodge and block. The damage output is still high even with the penalties, so if it doesn't feel deterring, it can be replaced with Together as One for more assist meter at the start which is good for stability.
Otherwise this can be exchanged to suit the player preference or match-up.
|
Muscle Belt ![]()  and Summon Unused and Summon Unused ![]()  |
Battle Hammer ![]()  and BRV = 0 and BRV = 0 ![]()  |
This is for adding assist depletion to the build. Muscle Belt doesn't benefit from BRV = 0 booster, whereas Battle Hammer does, so the booster is swapped out for something stronger and more consistent.
BRV = 0 applies to wall rush damage and meter depletion.
|
| Best Dresser (extra ability) |
Master Guardsman (extra ability) |
The base bravery (1623) can be reduced by 100 to raise the maximum health above 10,000 instead.
|
Attacks
Tifa has a good selection of viable bravery and HP attacks, with a bit of room to accomodate different circumstances.
Staple
These attacks are recommended regardless of matchup, stage or player preference.
| Bravery attacks
|
| Ground
|
Aerial
|
| Waterkick |
Moonsault Kick
|
| Beat Rush |
Elbow Smash
|
| HP attacks
|
| Ground
|
Aerial
|
| Rolling Blaze |
Meteor Crusher
|
Somersault
(from Waterkick) |
Rolling Blaze
|
Waterkick: Poke and an assist combo starter with Somersault HP link.
Beat Rush: Poke and post-dodge defensive option. Cannot combo into Aerith, but can synergise with her Planet Protector or even Holy if the situation allows Tifa to initiate chase.
Moonsault Kick: Slower close range poke with higher brv damage, post-dodge defense with Feint. Assist combo starter with a chase setup that doesn't require a wall, making this a good recommendation for Aerith assist specifically.
Elbow Smash: Aerial close range poke, dodge punisher. Assist combo starter with wall rush.
Rolling Blaze (ground): Assist combo starter, extender and an anti-air.
Somersault: HP link from Waterkick. Assist combo starter and increases Waterkick's overall threat.
Meteor Crusher: Air assist combo ender, block punisher and pre-emptive dodge punisher when fully charged. Can combo into Aerith at wall.
Rolling Blaze (midair): Air assist combo ender, double assist combo extender, air-to-ground dodge punisher / clash / space occupation.
Flexible
These attacks are great to have, but can be swapped or removed depending on matchup, stage or player preference.
Tifa has good contenders for the remaining BRV (1 ground, 1 midair) and HP slots (2 ground):
| Bravery attacks
|
| Ground
|
Aerial
|
| Blizzara |
Falcon's Dive
|
| Blizzaga |
Dolphin Blow
|
| HP attacks
|
| Ground
|
Aerial
|
| Meteor Strike |
--
|
| Burning Arrow |
--
|
Blizzara: Ranged low projectile that becomes mid priority when it explodes at max range. It can convert to assist combo on hit. Occupies space in front of Tifa, but be wary of the initial low priority.
Blizzaga: Ranged mid projectile, can convert to assist combo on hit. Spawns on top of opponent and has limited vertical reach, but it is mid priority all the way through, staggering regular blocks.
Falcon's Dive: Downward (air-to-ground) poke, post-dodge defense with Feint. Assist combo starter with wall
Dolphin Blow: Upward poke that is slightly faster than microdash Elbow Smash. Also works as a post-dodge defense tool with Feint. Assist combo starter with wall rush. Recommended vs. Sephiroth and Cecil.
Meteor Strike: Pseudo-poke with forward movement, slight low-profile, longer active frames and bravery damage than Rolling Blaze.
Great to have.
Burning Arrow: Single hit HP. Doesn't combo into Aerith, but avoids EX Revenge counters with EX depletion.
Avoid
Generally not recommended due to being outclassed by other attacks or having little to no distinct utility.
| Bravery attacks
|
| Ground
|
Aerial
|
| Blizzard |
--
|
| HP attacks
|
| Ground
|
Aerial
|
| Meteodrive |
--
|
Blizzard: Low priority projectile with longest reach out of the Blizzard type spells. With other spells already having higher priority and providing better reward on hit, Blizzard is not recommended for this build.
Meteodrive: Low brv damaging HP with wall rush. Doesn't combo into Aerith, but has better feint than Meteor Strike and short animation overall.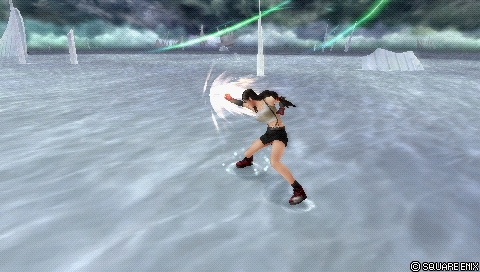
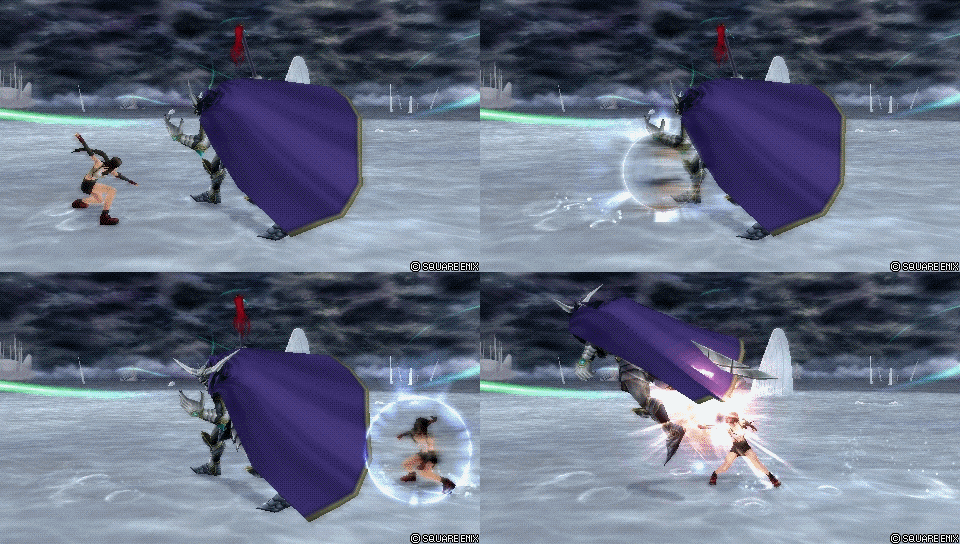
![]() , which lets Tifa evade any incoming blows and strike back. This is useful in the context of dodge punishment, because Beat Rush feint is Tifa's fastest way to protect herself after a ground dodge. Tifa can go behind opponents with the feint, which also works as an offensive approach.
, which lets Tifa evade any incoming blows and strike back. This is useful in the context of dodge punishment, because Beat Rush feint is Tifa's fastest way to protect herself after a ground dodge. Tifa can go behind opponents with the feint, which also works as an offensive approach.
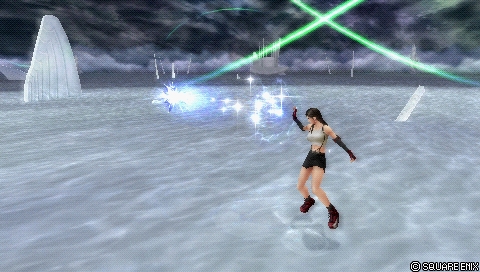
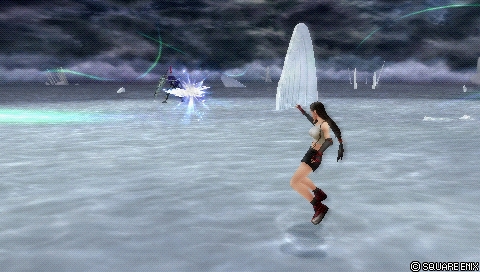
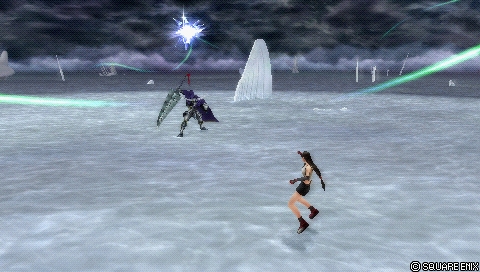
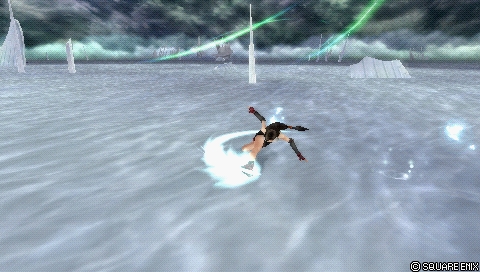
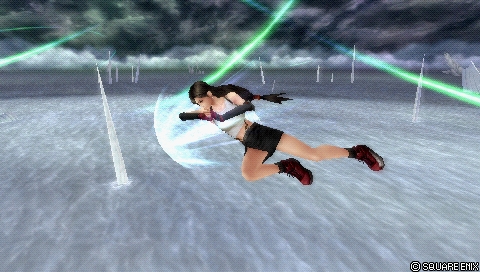
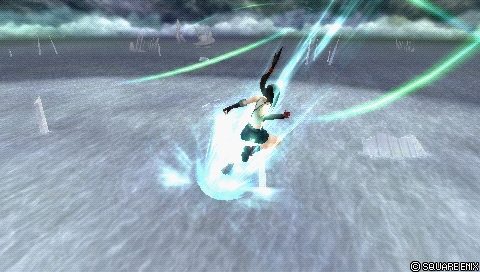
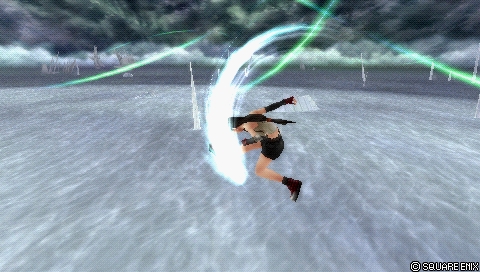
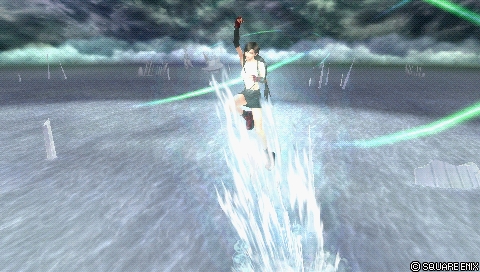
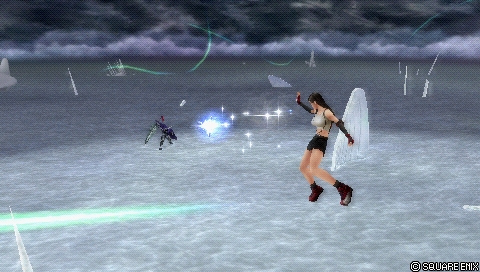
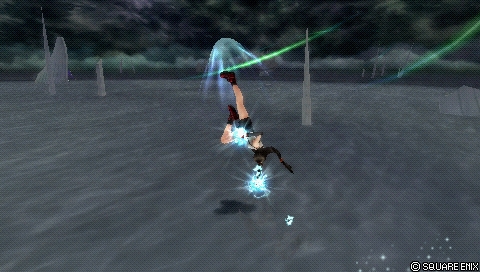
 builds. If Tifa started a combo with an HP, the charged versions also give more time for base bravery to recover. In those cases, Meteor Strike is good as a general assist combo ender on the ground.
 Block Ring
 Empty EX Gauge